The Overclocking Decision
So this is it !
You've got yourself a nice raspberry Pi and now you think : How Can I Make It Go Faster? The first answer that pops one's mind is : overclock it dude, but then again the voice that echoes between your limbic brain and the brain stem, protecting you and your beloved from harm for some thousands years, comes once again to save the day and take the joy away : What if it burns ? As every good disclaimer that has the least respect of itself, we say that we take no responsibility for what follows, and all the activities described might harm your raspberry. And you , the reader, are the only one who is responsible for any damage that might be caused to any equipment you own. Now, let's get back to fun stuff....
Actually, if you have installed raspbian, the manufacturer was kind enough to provide the means for a very nice, and easy utility to set up your overclocked Raspberry Pi. You can call it from a shell like that :
sudo raspi-config
and the following screen appears :
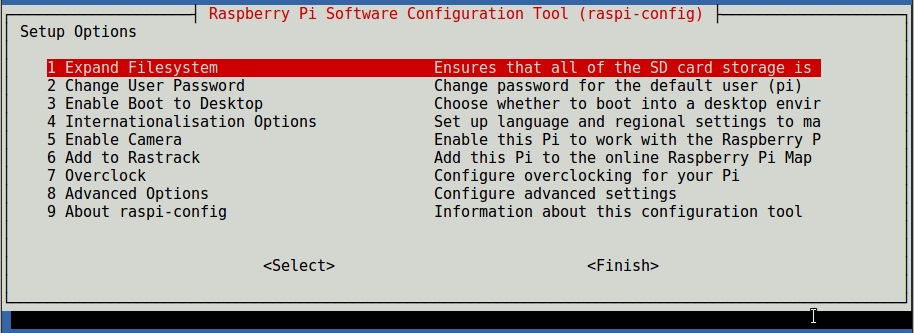
You scroll down and select option 7, and you will be taken to the magic menu :
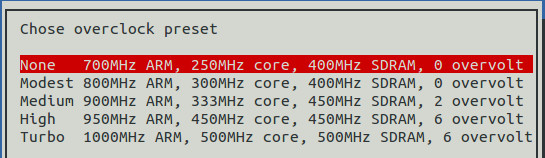
As you can see here, there an assortment of choices available, with the safest bet being "Modest" overclock : +100 MHz CPU speed, no overvolt. Overvolt means overvolt stepping and without being too technical it is giving an increase of 0.025V per step described in this list. With this in mind, we can assume that overvolt 6 means 6*0.025V = 0.15V of total increase of voltage in some parts of the board. And this my friends,means heat !
The disclaimer protected you, the informative message before that screen protected you, and to put it in Eben Upton's (Raspberry Pi Founder - CEO of Raspberry Pi's engineering team) words :
We are happy that the combination of only applying turbo when busy,
and limiting turbo when the BCM2835’s internal temperature reaches 85°C,
means there will be no measurable reduction in the lifetime of your Raspberry Pi.
But in the same article, we are given the irresistible information...
Comparing the new image with 1 GHz turbo enabled,
against the previous image at 700 MHz, nbench reports 52% faster on integer,
64% faster on floating point and 55% faster on memory.
Bearing all this in mind, I pondered : If manufacturer says it's safe, but not that safe, because physics says that temperature will increase, and logic says that it will shorten the life of my Pi... ok ok ok, I will do it, and I will cool it ! Need it or not, I will do it, and I will be reassured from the brain stem voices...
The Cooling Decision
First you will need a heatsink. Find an appropriate heatsink on the exact size of the Broadcom BCM2835 (B+ model) cpu/gpu unit. Several raspberry heatsinks exist in prices ranging from cheap to extra cheap, and most of them come with the appropriate double sided adhesive thermal tape like the following:
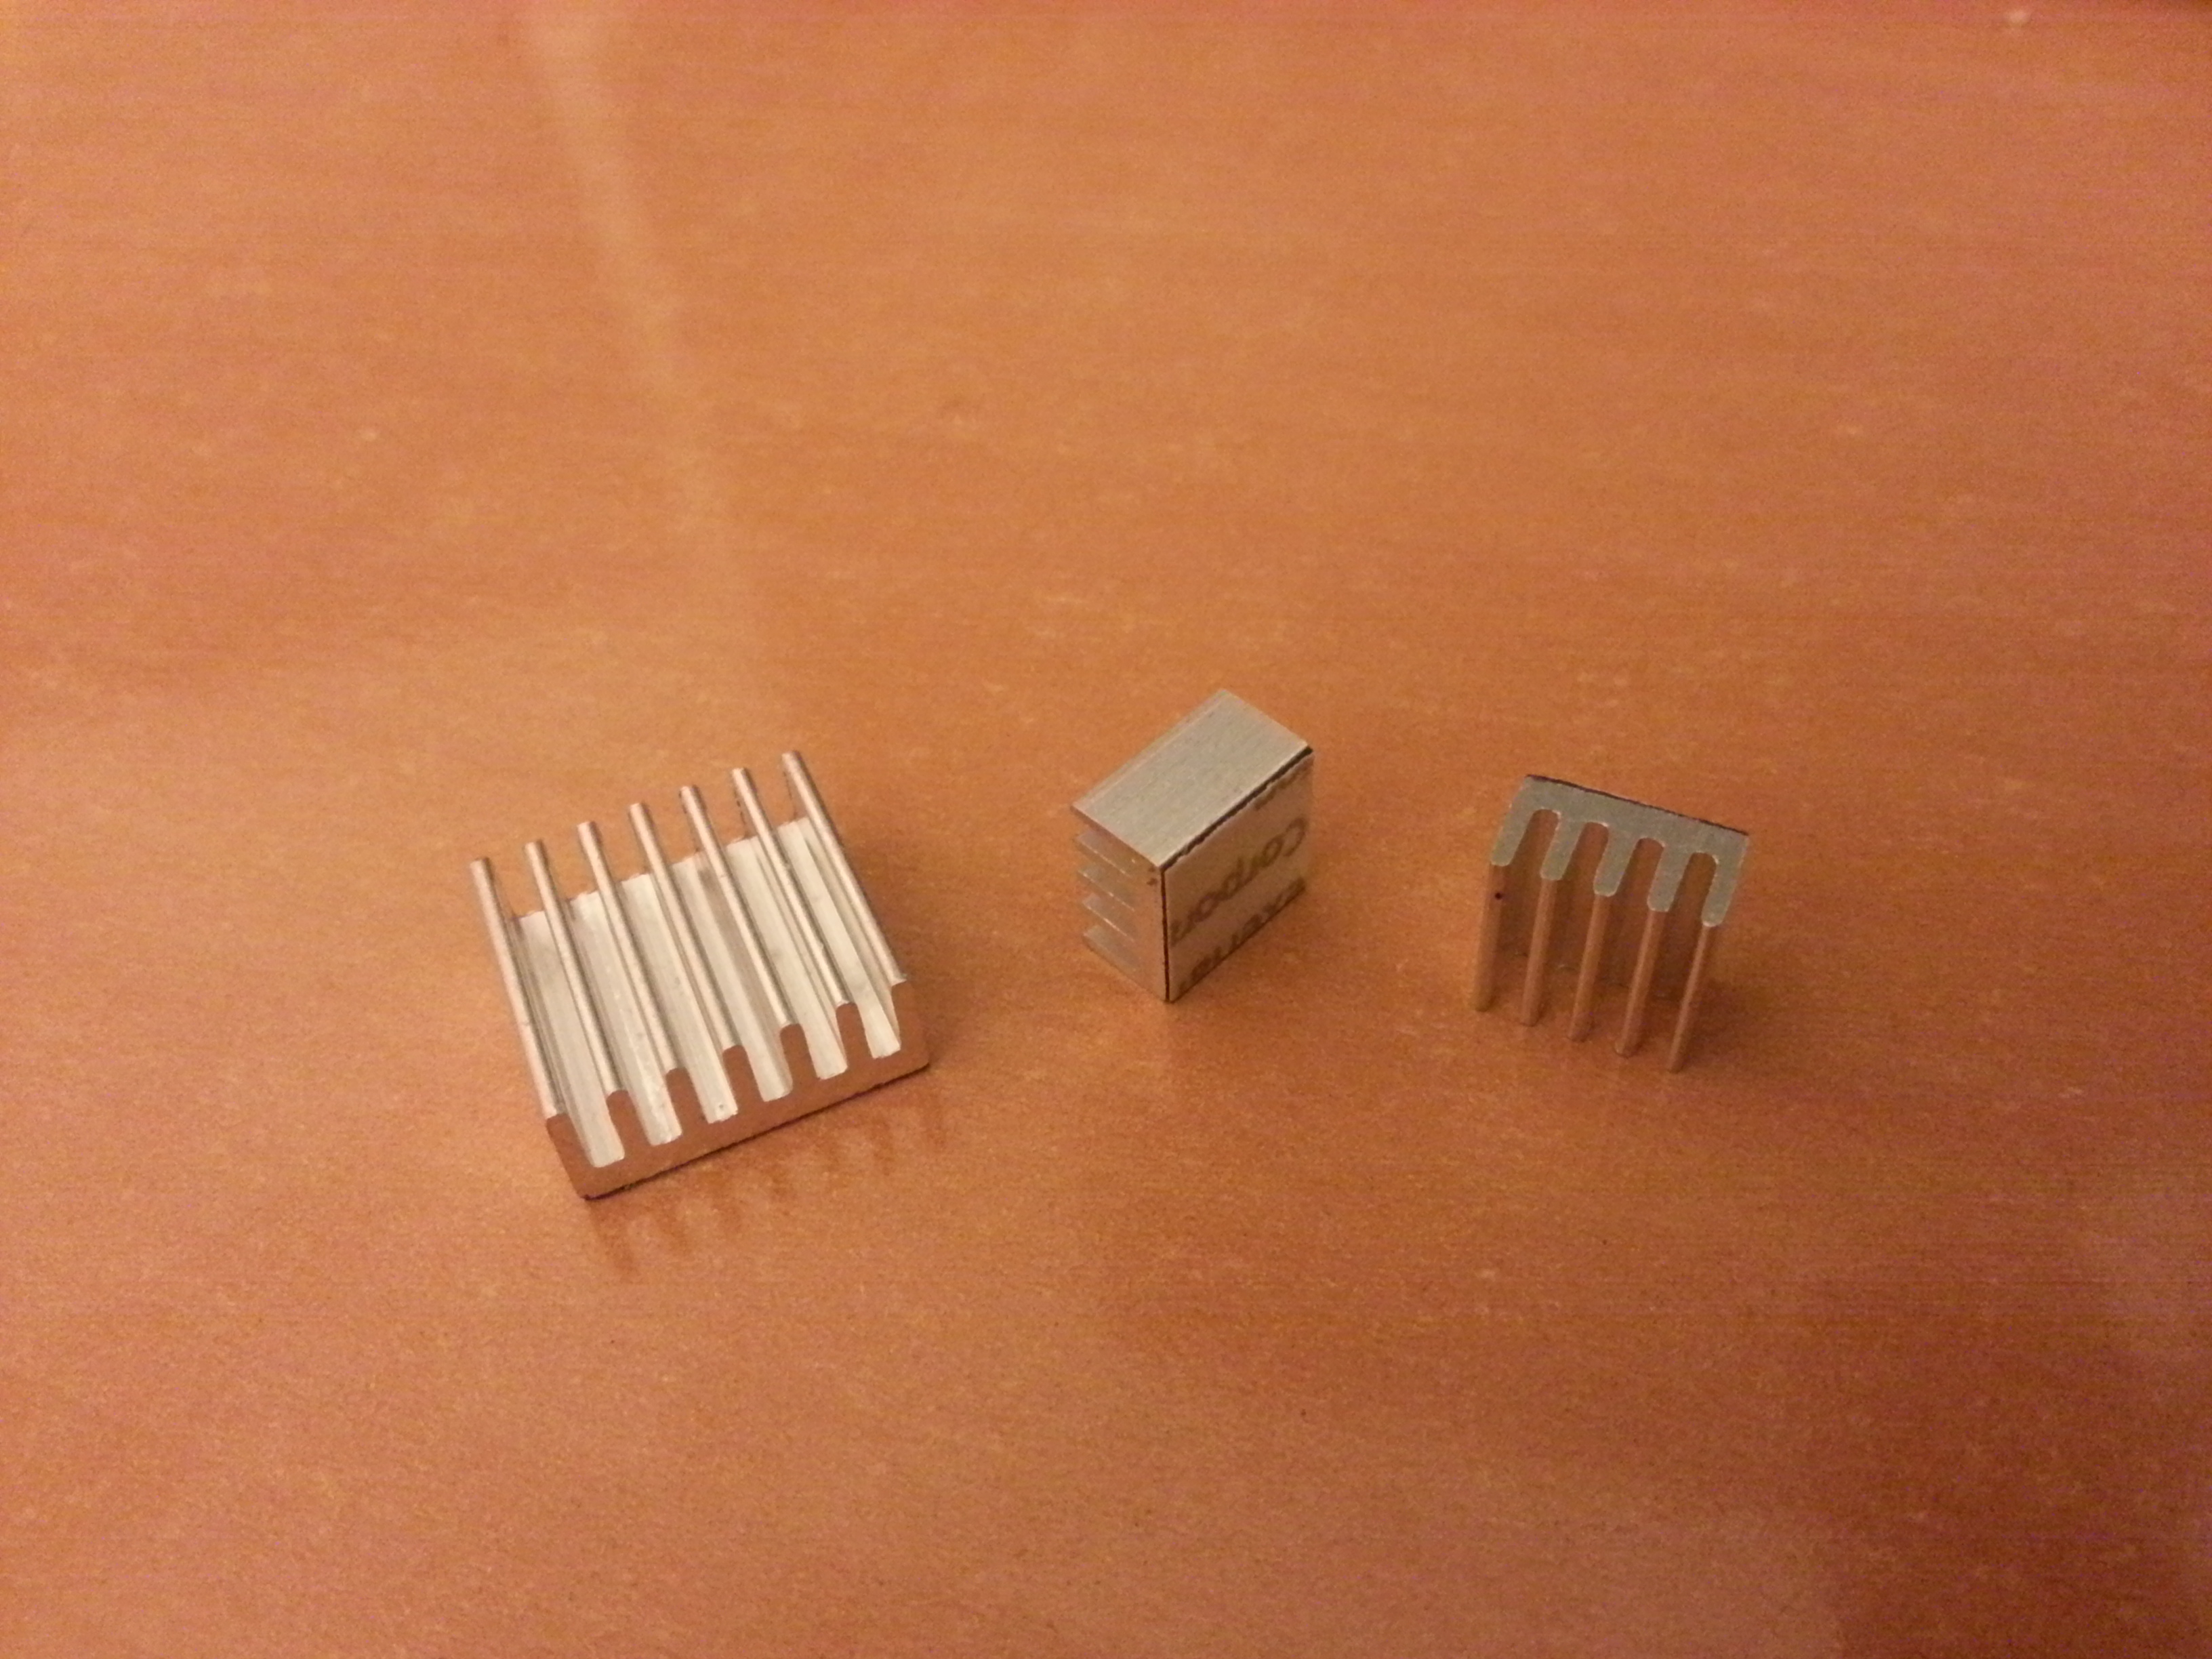
If you cannot find a heatsink in the exact size of the cpu, as it was my case, get the smallest heatsink you can get and have it cut in the size you need. Use a dremel or another mean of cutting small pieces of metal, take the appropriate precautions and bring that heatsink to the size you need. I bought a heatsink for SOT82 packaged parts and cut it in half.
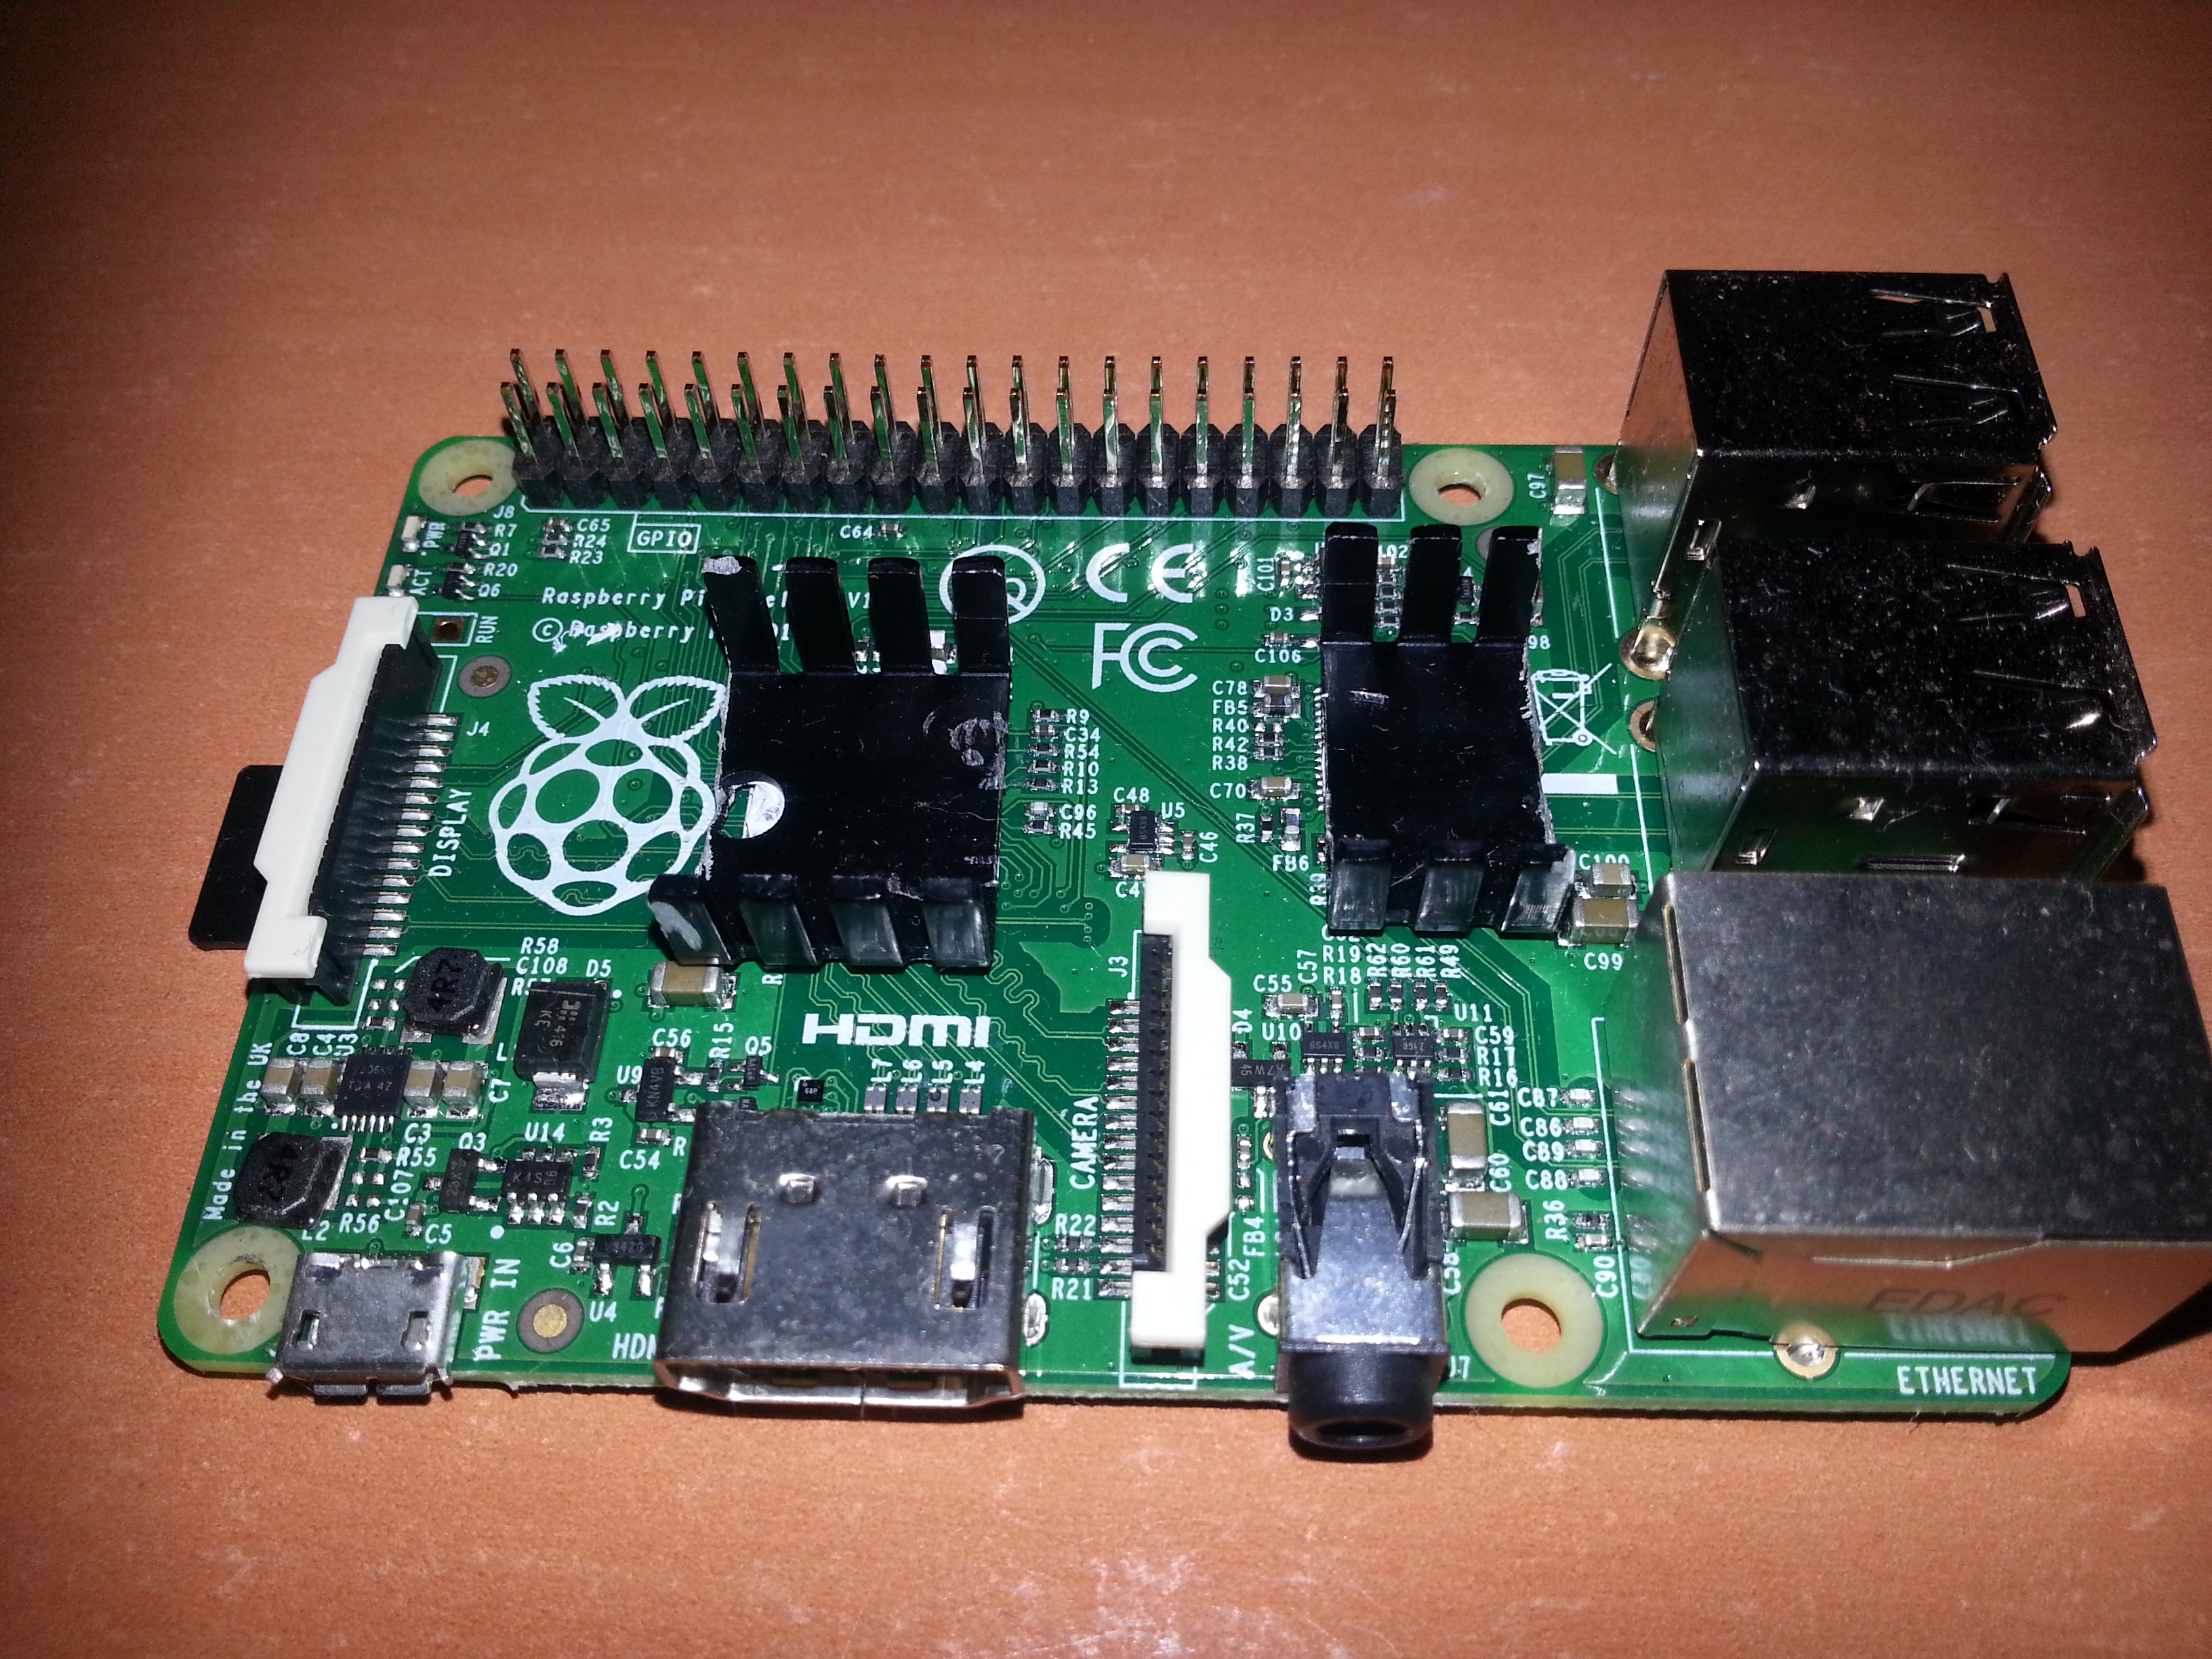
Another decision that needs to be taken is , the need to cool the usb/eth controller (LAN9514). I tested with only one heatsink and I felt safer, putting a duet of them absorbing heat from the board.
Mounting the heatsink(s) is maybe the trickiest part. First and easiest way is using only thermal grease (thermal paste). Prefer a good quality brand for best thermal dissipation. It will not hold the heatsink in place if you put it in a fighter jet, but as long as your raspberry rests gently on your desk might do the trick. One drawback of this method is that, while dissipation grease along with a little help of gravity holds the heatsinks in place, the contact is not so strong, thus the low heat dissipation levels.
Now if you want to have a more stable heatsink you must find a way to hold these small pieces of metal in place. What was in abundance in my house (from the early years of my life) and I kept with no actual reason where some (quite a few actually) bicycle wheel spokes. I used some of them for testing and with some basic skills of bending and cutting metal, I managed to create the following holder:
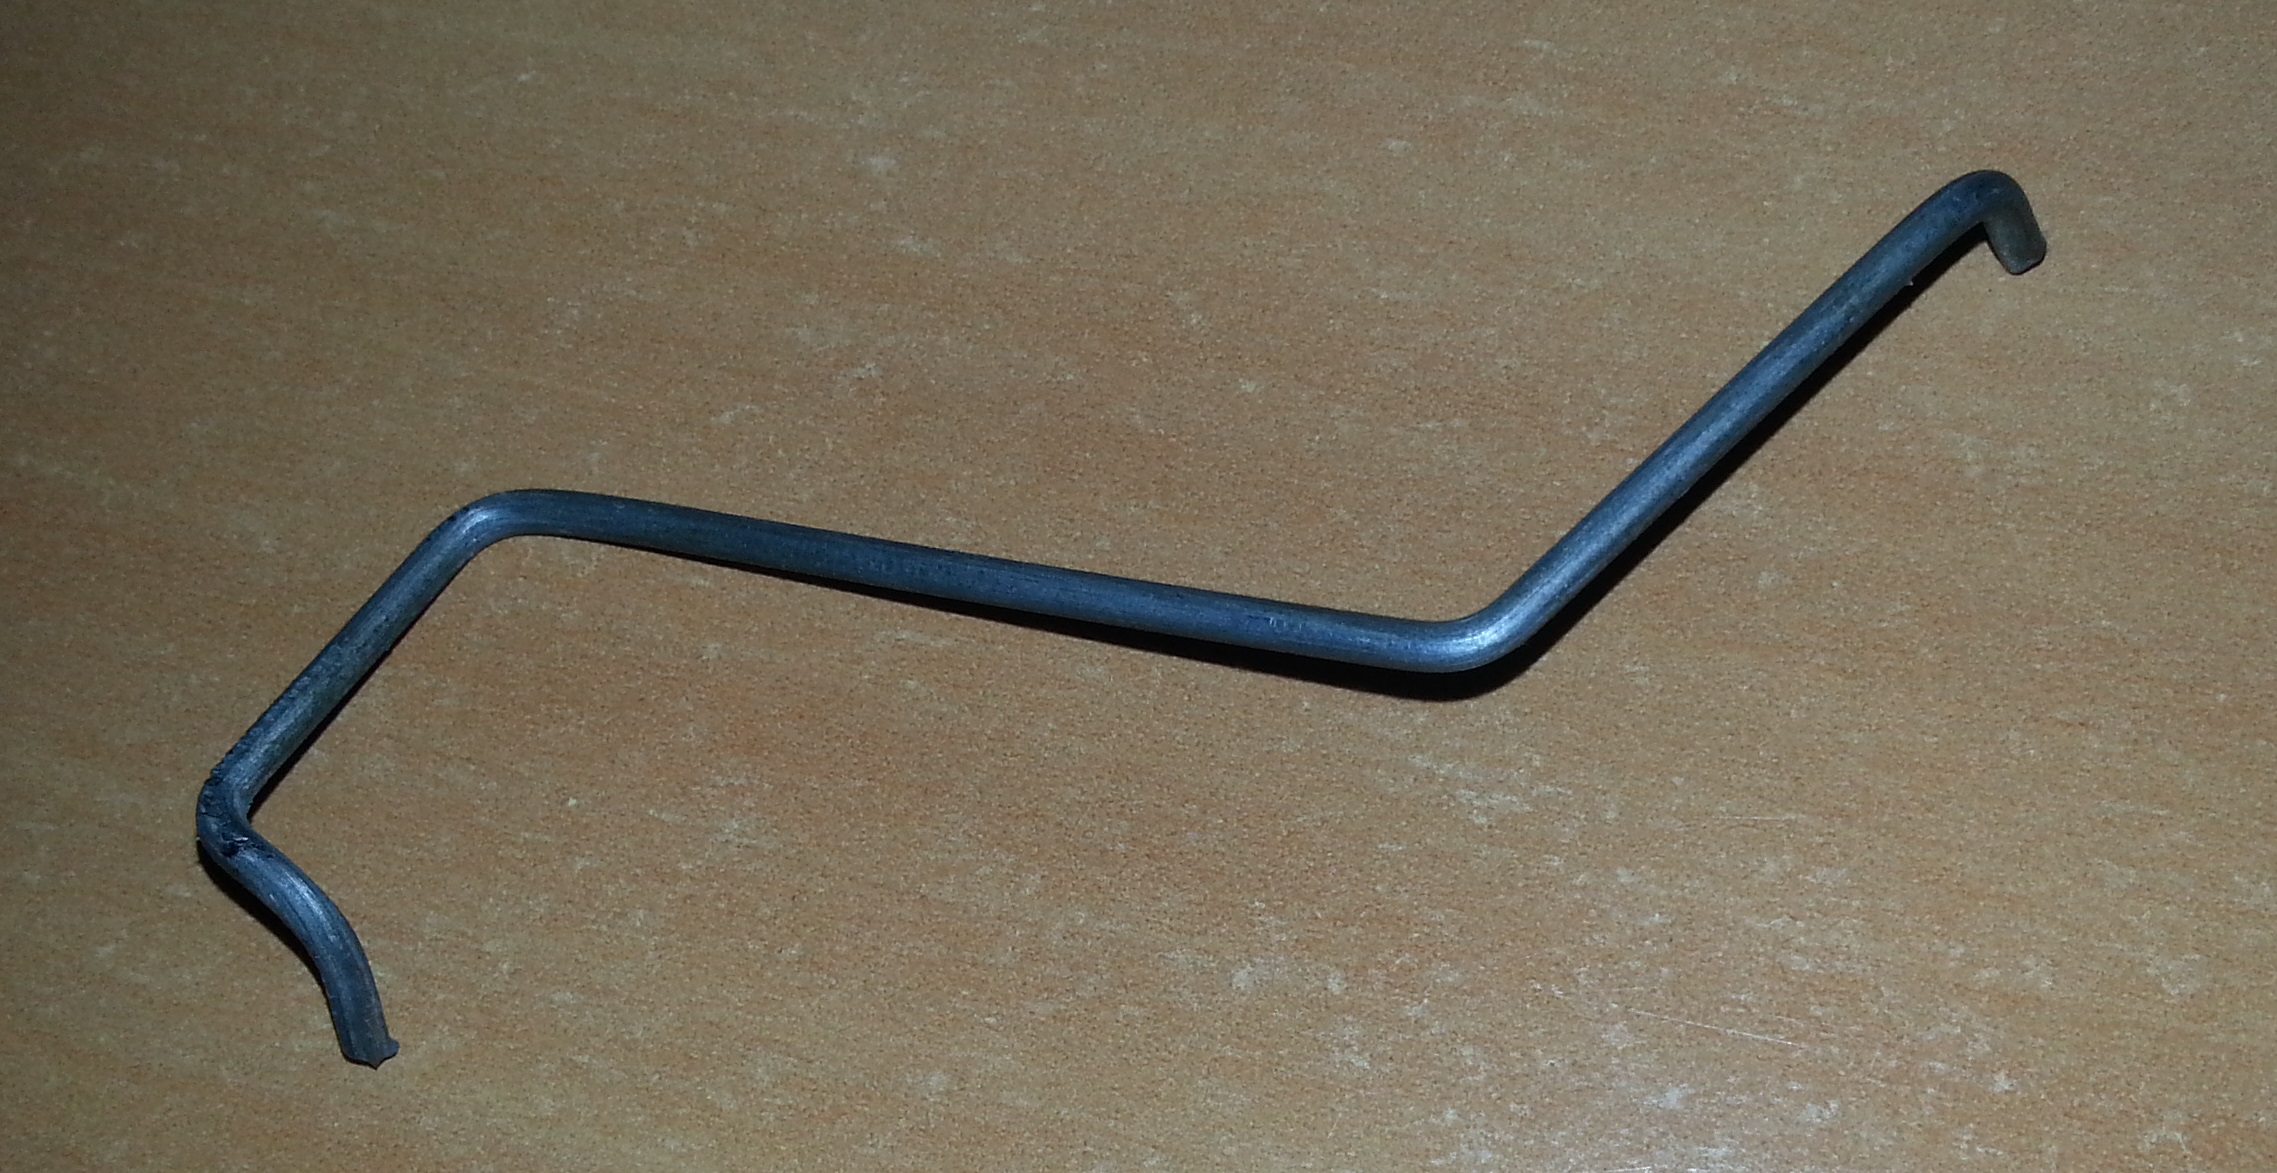
Which, when attached to the diagonally opposing screw holes of the raspberry Pi, looks like this :
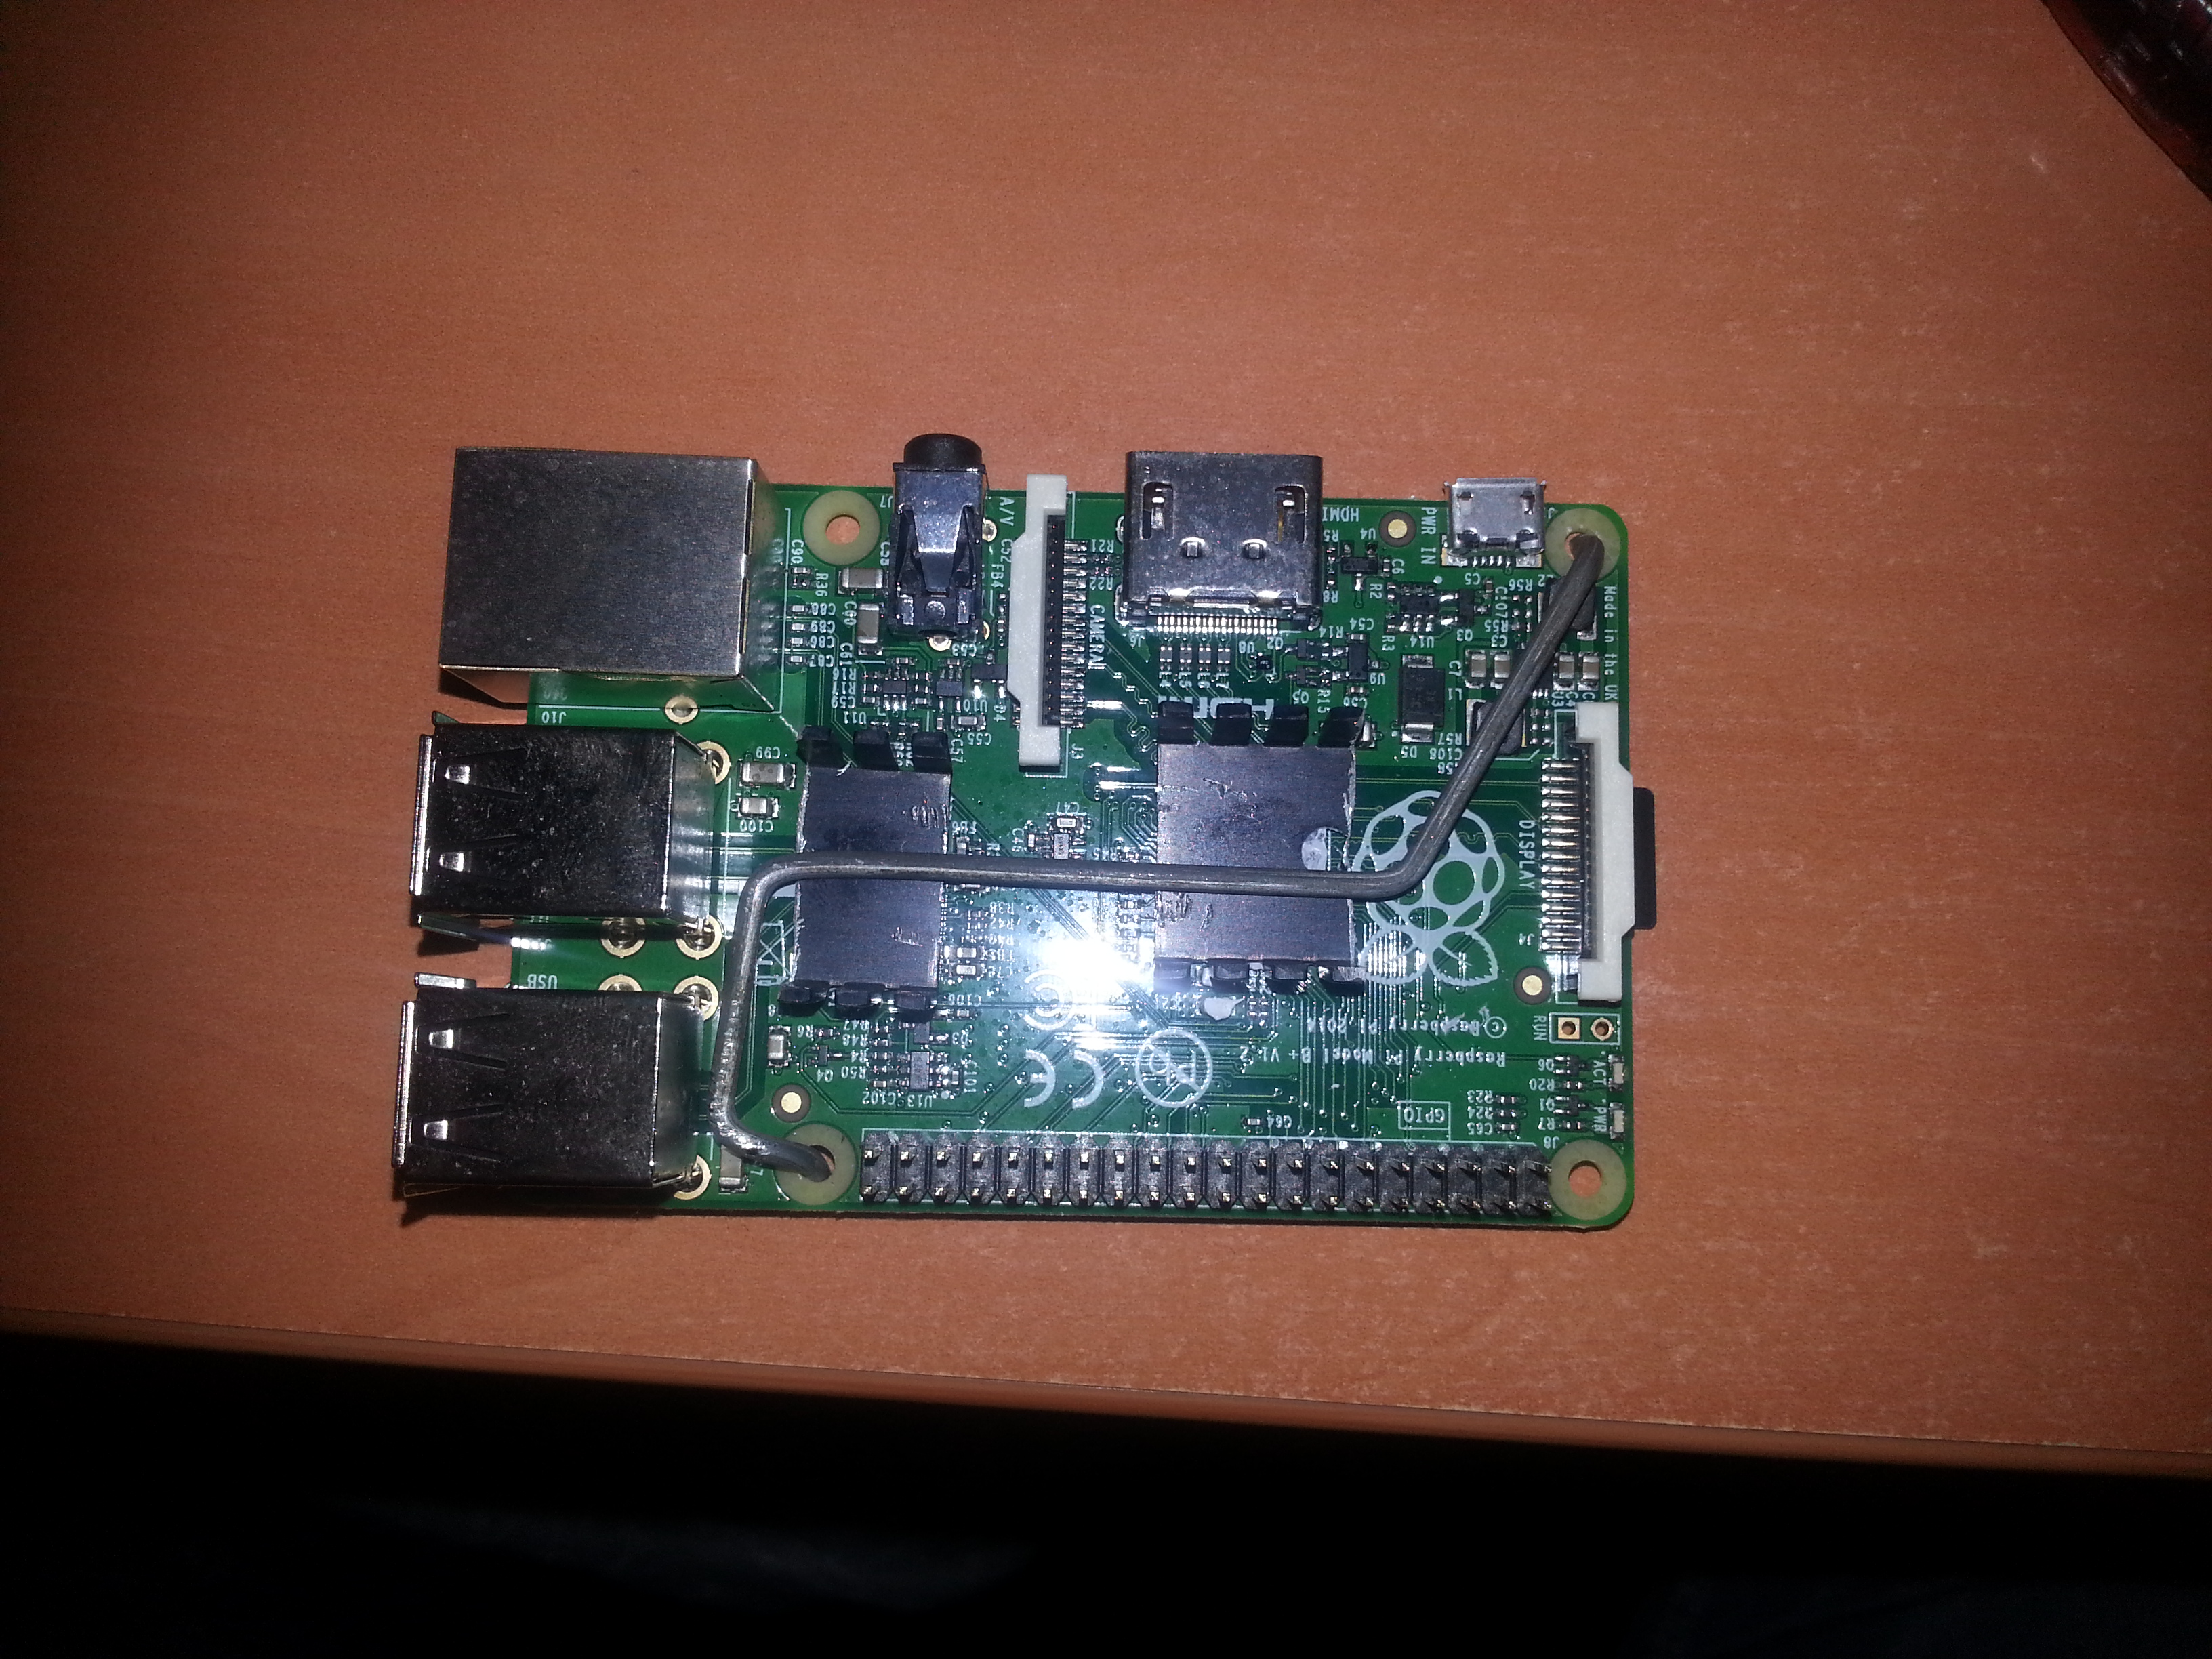
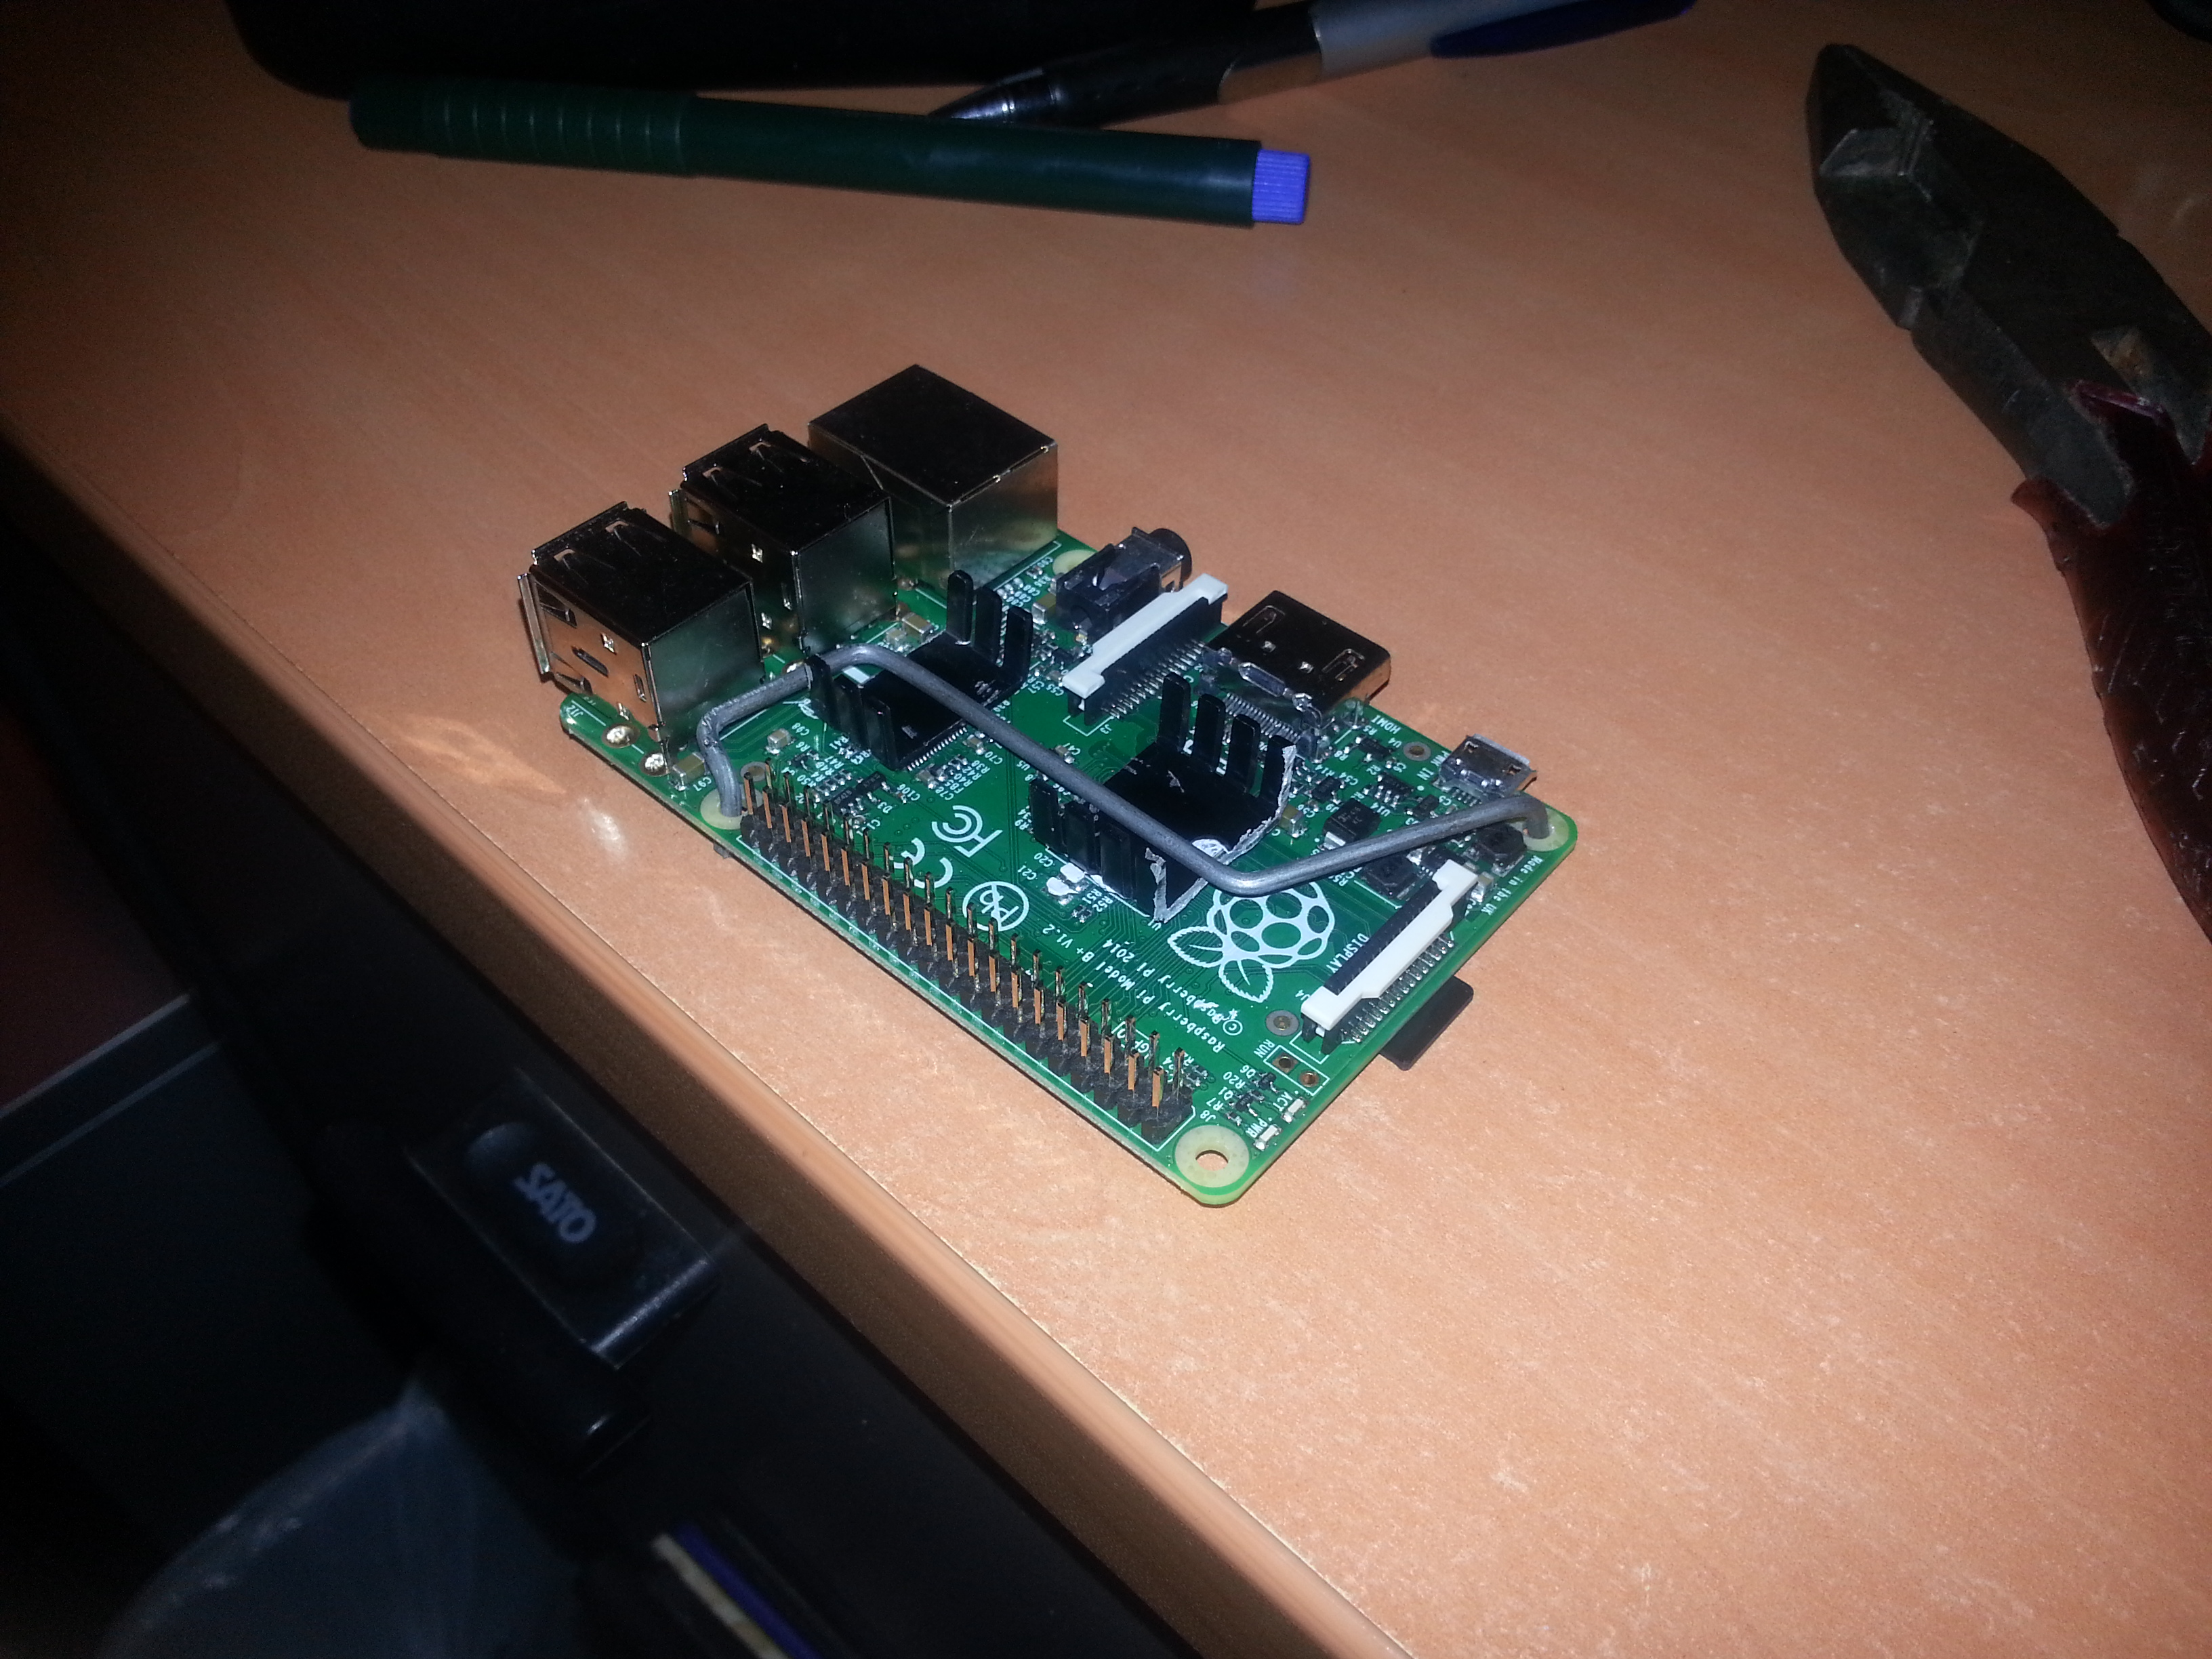
The holes that remain, can still be used to mount the board in your raspberry Pi case, and maybe some tweaking, like removing or eliminating is required for case sockets that are expecting the screw holes that are currently occupied by the heatsink holder. For maximum stability, the edges that go inside screw holes should be bent outwards, and the middle of this wire should be bent downwards to apply a constant slight pressure on the heatsinks. Be very careful when applying the construction because some SMD parts might be destroyed. That means, your raspberry will go bye bye, for this reason, prefer to perform the previously described activities in a sober state.
The Results
The results are quite satisfying. Given that in "No overclock" the raspberry operates at about 45oC, I managed to have the "Turbo Mode" (it reminds me early DX era) , of 1 GHz and a total of 6 overvolt, running at the mere temperature of 39oC !
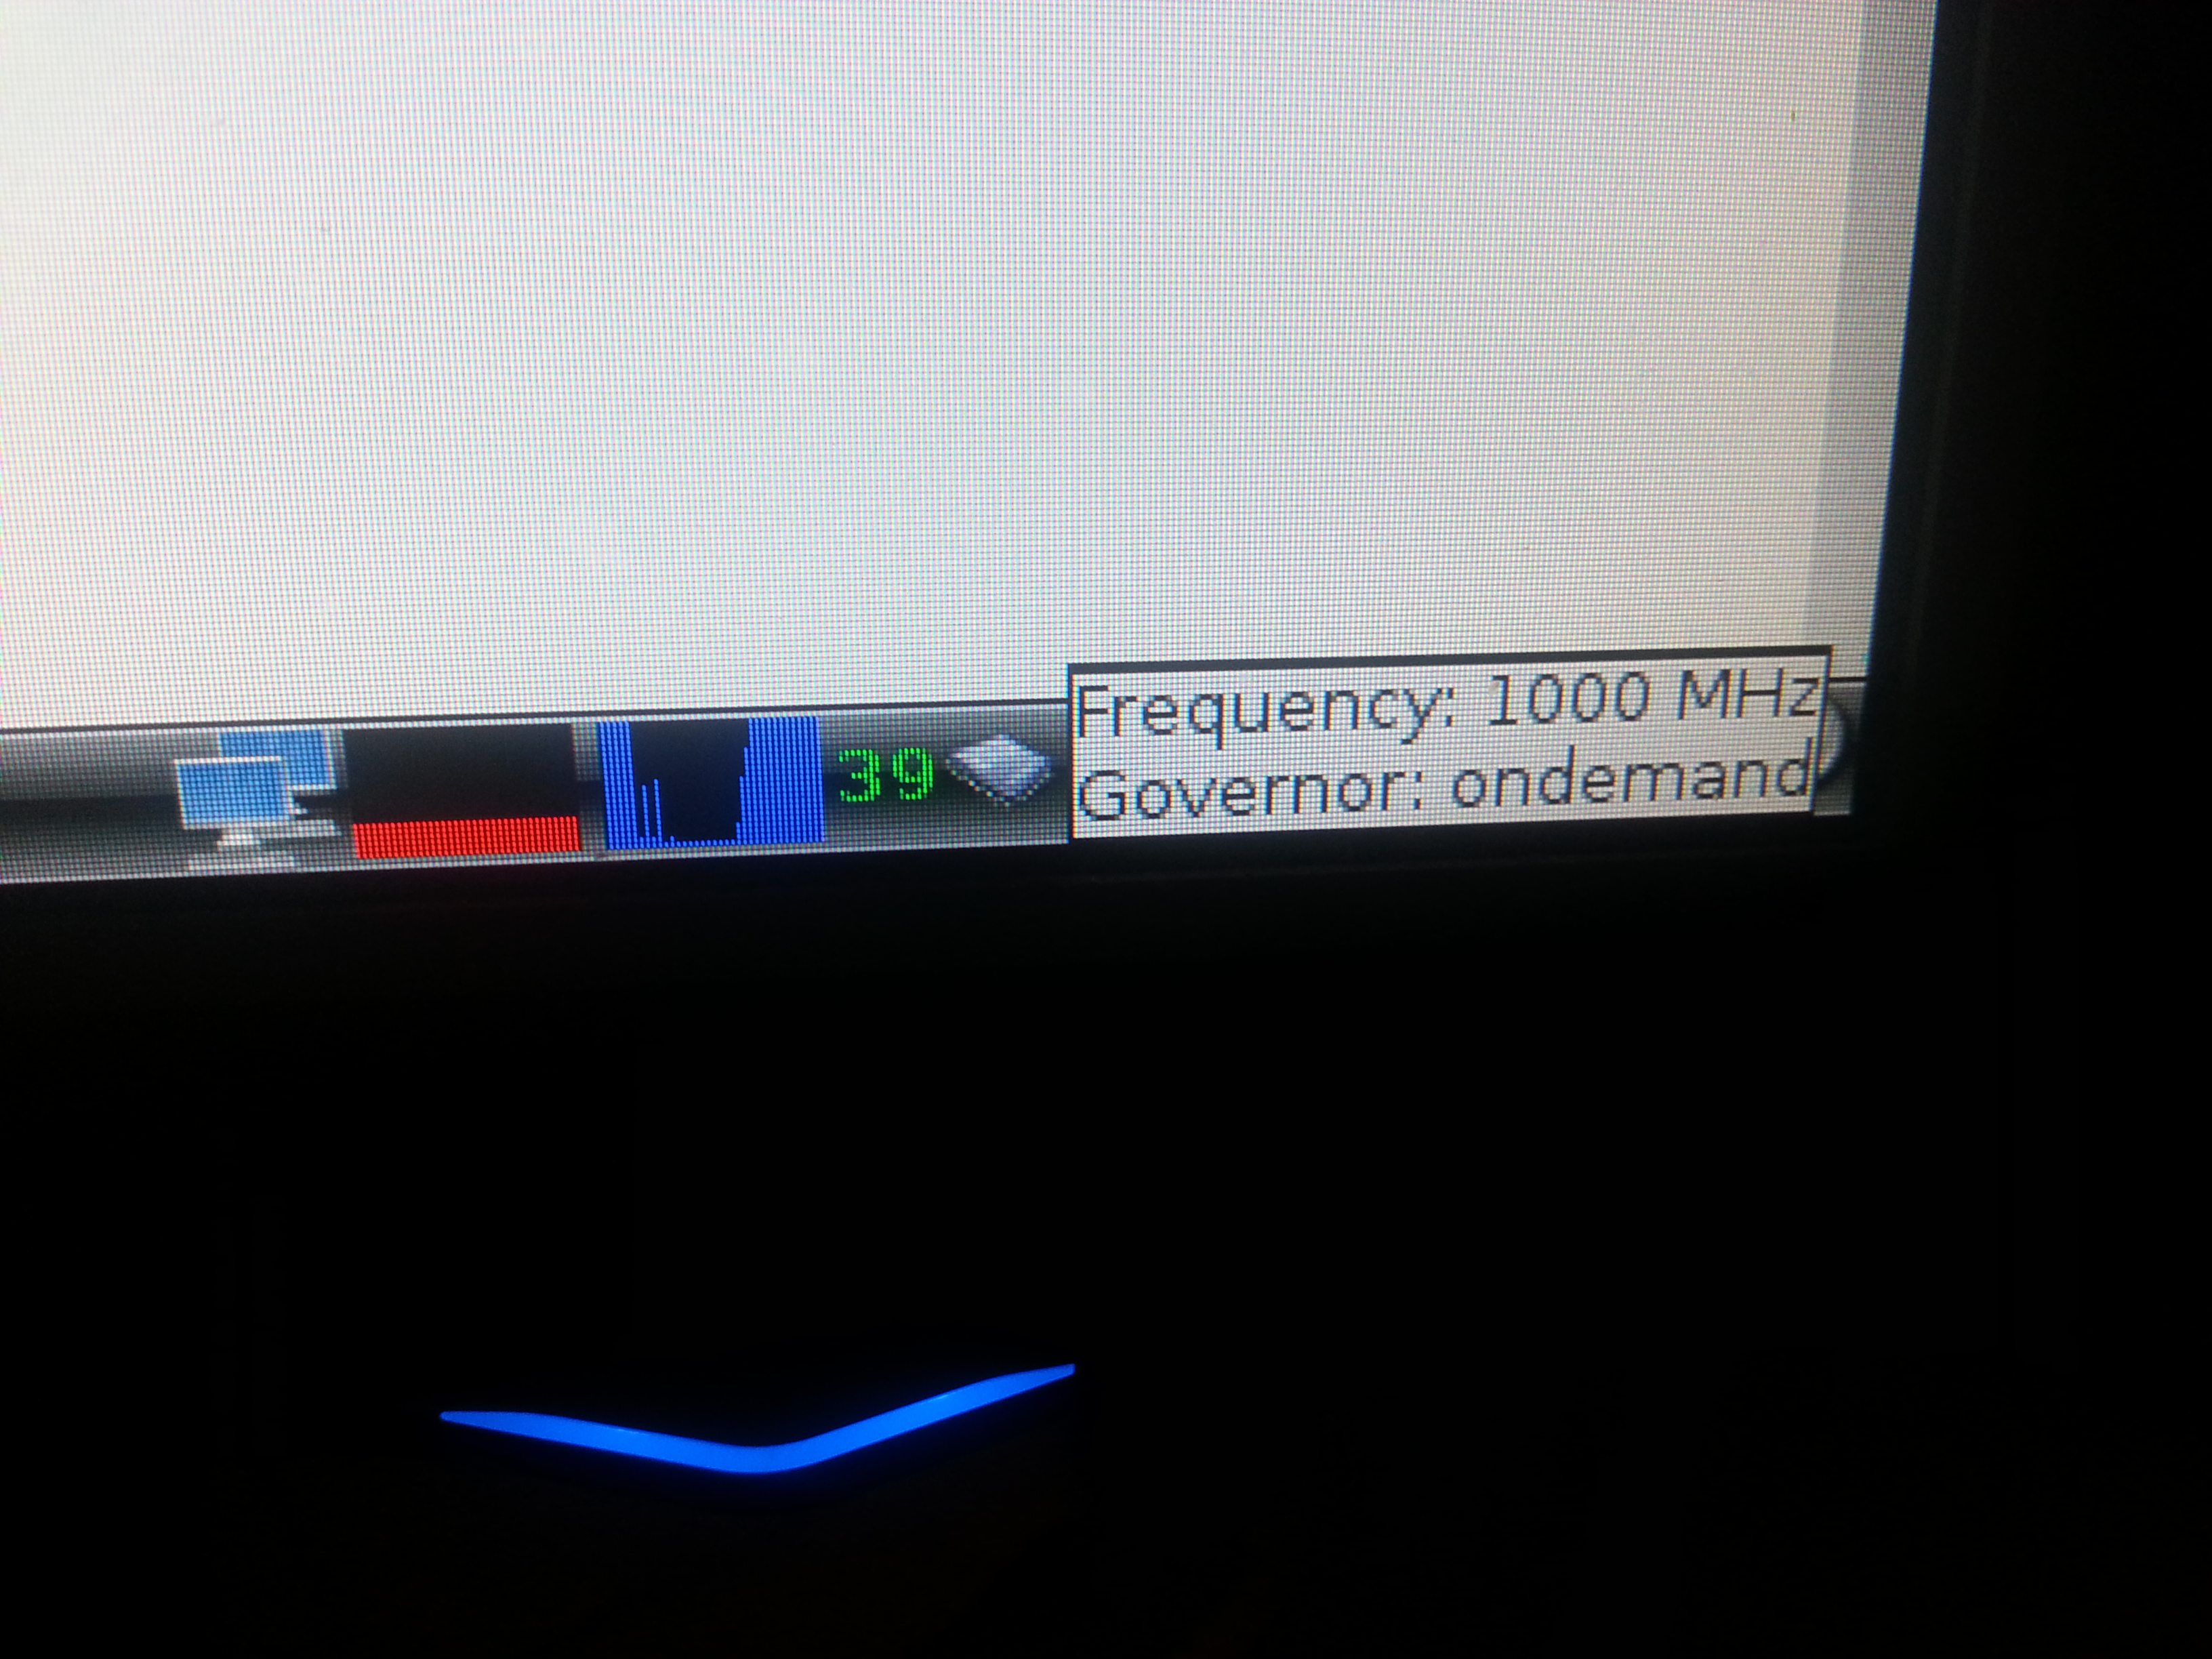
Well this might not be paradise cool, but raspberry cool...
Your great protector ? "Governor: ondemand". Never try to change this.. the overclock happens only when needed. There is no need to keep your berry panting and puffing ;)
Again, thanks for reading and keeping with me up to this point. Share below if you liked! I really hope you enjoyed and that you will have a nice and fast raspberry for you to play...
Cheers!

Add new comment